As an Amazon Associate, we earn from qualifying purchases. Some links on this site are affiliate links at no extra cost to you. Our recommendations are based on thorough research and editorial judgment.

How To Land Drops Without Blowing Out Rims?
To land drops without blowing out rims, we should focus on a few key techniques! Landing rear wheel first helps absorb impact and protects our rims. Keeping our body weight back and bending our knees also helps with the landing. Plus, maintaining proper tire pressure and upgrading to durable components like reinforced rims can really minimize damage. Keeping our riding skills sharp and learning from experienced riders makes a big difference too! Stick around for more tips on mastering those drops!
Key Takeaways
- Land with the rear wheel first to absorb impact and minimize stress on the rims.
- Ensure proper tire pressure to enhance handling and reduce blowout risks during landings.
- Employ the wheel tap technique to maintain stability and a low center of gravity when landing.
- Practice weight shifting and body positioning for smooth landings to protect the rims.
- Regularly inspect and maintain rims, spokes, and tires to prevent damage after drops.
Understanding the Importance of Proper Landing Techniques
You may be interested


When we think about landing after a jump, we might not realize just how essential it is to do it right! A controlled descent is key to making sure we don’t damage our rims. If we gently adjust our speed before landing, we can prevent that harsh impact that we dread. Additionally, understanding the importance of frame material quality can help in selecting a bike that withstands the stresses of landing without compromising performance.
Rear Wheel First: The Optimal Landing Strategy

Landing smoothly can make all the difference in our skating experience! One of the best rear wheel techniques is to land rear wheel first. This way, our rear truck absorbs the initial impact, reducing stress on our rims. Plus, it helps stabilize the board and prevents nose-diving.
To nail this, we can shift our body weight back and bend our knees, which helps with impact absorption. Timing is key too! With our rear foot on the tail, we can pop and control our landing. A slight tail drop guarantees that our rear wheel hits first, protecting the front rim from damage.
When we roll away, we should lean slightly over our toes, balancing the board for a smooth exit. Additionally, using lightweight aluminum frames can enhance our overall control and maneuverability while landing. Happy skating!
Tips for Effective Wheel Tap Technique
Mastering the drops is just the beginning of boosting our skills on the bike! Let’s explore the wheel tap technique, which can really elevate our ride.
Timing is Everything
We need to use our forward momentum to help lift the front wheel. Timing our pedal stroke with body movement is essential. As we approach the obstacle, we aim for a smooth tap.
Body Position
Crouch down before we hit, getting our center of gravity over the landing. Pull back on the handlebars at impact, but not too much—balance is key!
Smooth Changes
After the wheel tap, let’s keep our arms firm and legs bent for impact absorption. Practice will help us adapt to different surfaces, making each ride smoother and more controlled. Additionally, understanding durable frame construction is crucial for enhancing overall bike performance. Happy riding!
The Role of Pedal Position in Impact Absorption

Getting our pedal position right can make a huge difference in how we absorb impact on drops. By using mid-foot pedal positioning, we create a stronger “anchor” on the bike. This improves stability and helps with force distribution when we land.
When our foot’s over the pedal axle, we evenly spread the landing force across our foot. This reduces stress on our rims! Plus, it engages bigger muscle groups like our hips, which are better at handling shock.
If we stand with our heels slightly down, we maintain control and shift our weight smoothly. This way, we’re protecting our rims and riding more confidently! Let’s practice this to keep our rides enjoyable and our bikes safe! Additionally, ensuring that our pedal position aligns with impact protection standards can further enhance our riding safety.
Adjusting Seat Height for Better Control

Finding the right seat height is super important for riding with confidence! A seat that’s too high or low can mess with our bike control. It affects how well we reach the ground for stable stops and balance, especially when we’re slowing down after a drop.
When we adjust the seat height, we’re also shifting our center of gravity. Lower seats can limit ground clearance, so we need to be careful of scraping or losing control! On the flip side, a higher seat allows us to clear obstacles better and helps absorb those landing impacts. Additionally, maintaining appropriate weight capacity on our BMX pegs is crucial for safe landings and performance.
Let’s remember, by finding our ideal seat height, we can improve our confidence and landing technique! Happy riding!
Tire Pressure and Its Impact on Landing
Now that we’ve adjusted our seat heights for better bike control, let’s talk about tire pressure and how it can really affect our landings! Proper tire inflation is key to ensuring we have the right contact with the ground. If our tires are under-inflated, they might lead to less control and sluggish handling when we hit those drops. On the flip side, over-inflated tires can give us a harsh ride and put us at risk of blowing out. Maintaining the correct tire inflation at recommended PSI is vital for ensuring necessary weight-bearing capacity.
Recommended Products
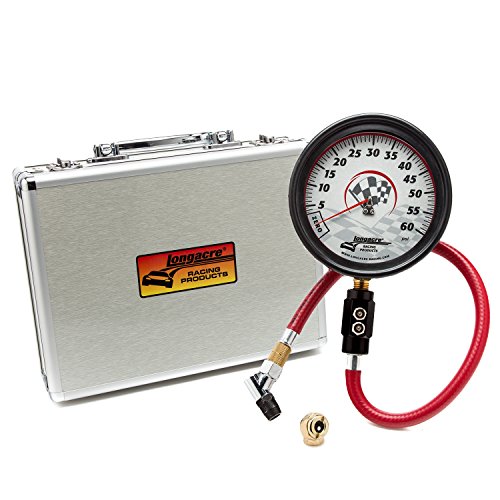
The large, 4" glow-in-the-dark face makes this tire pressure gauge easy to read and use any time and comes with a protective carrying case

International products have separate terms, are sold from abroad and may differ from local products, including fit, age ratings, and language of product, labeling or instructions.
International products have separate terms, are sold from abroad and may differ from local products, including fit, age ratings, and language of product, labeling or instructions.
Choosing the Right Tires for Drops
When it comes to landing drops, the tires we choose can really make a difference! To protect our rims and improve our ride, we need to take into account tire inserts and casing strength.
Tire Inserts
Using foam inserts between the rim and tire helps absorb impacts. They can prevent damage to both the tire and rim, but remember, they’re not foolproof!
Casing Strength
Opting for tires with tougher casings like Super Gravity can reduce the chances of punctures during drops. Thicker sidewalls paired with inserts offer better absorption and stability.
In short, combining durable tire casings with quality tire inserts gives us the best shot at maximizing rim protection while enjoying the ride! Let’s gear up and make those drops!
Body Positioning for Balanced Landings
To land drops smoothly, our body positioning is key! First, we need to shift our hips back just before the drop edge. This helps keep pressure in our palms and prevents going over the handlebars. Engaging our core is vital for balance and impact absorption!
Next, let’s keep our knees slightly bent. This allows us to extend our legs mid-air for shock absorption when we land. We should also focus our eyes on the landing spot, guiding our body movement with our head.
Lastly, when we land, we need to guarantee our body is centered. This maintains bike alignment and stability. If we practice these steps, we’ll nail those drops and keep our rims safe! Happy riding!
Importance of Suspension Tuning for Drops
Think of suspension tuning as the secret sauce that makes your bike ready for big drops! It all starts with setting sag, typically 25-35% of total suspension travel. This guarantees our bike’s compression and rebound work smoothly together.
Next up, damping settings play a big role. Softer compression helps absorb those impacts, making landings feel comfortable. We want quick rebound to help our suspension recover, especially over rough landings, keeping us stable afterward.
Developing Skills Through Progressive Training
Developing our skills through progressive training really helps us tackle those drops with confidence! By breaking our training into structured phases—Base, Build, and Specialty—we focus on what we need most. The Base phase develops our endurance, while Build enhances our ability to nail those drop landings repeatedly.
In the Specialty phase, we fine-tune our skills for specific challenges, ensuring we’re sharp and ready! Sticking to one technical skill each month boosts our speed and confidence.
We should never underestimate the power of skill retention. Practicing consistently helps us remember those techniques, turning our rides into smooth adventures instead of guesswork! Let’s embrace this journey together and become unstoppable on those drops!
Maintenance: Keeping Your Equipment Ready
Maintenance is like giving our bikes some TLC! To keep our rides safe and smooth, we need good equipment readiness through routine inspections. After every ride, let’s clean off the mud and dirt—especially the chain! It’s essential for our bike’s performance. Don’t forget to wipe down those suspension seals and brake components too.
Next, let’s check cables and bolts for any wear. A quick look at tire pressure and spokes keeps us safe from rim damage! Before we hit the trails, we should make sure everything’s tight and working right.
And remember, a professional service every six months helps catch any hidden issues. With a little effort, we can enjoy trouble-free rides and land those drops like pros!
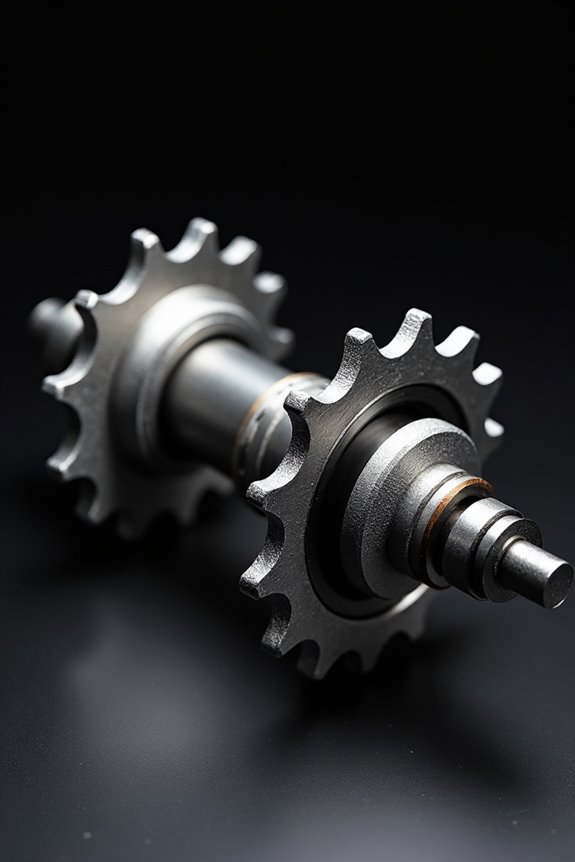
Upgrading Components for Enhanced Durability
Upgrading components can seriously enhance our bike’s durability! One fantastic way is by adding tire inserts. These bad boys absorb impacts, helping protect our rims from drops and strikes. We recommend denser foam options like Technomousse or CushCore Pro for extra protection.
Next, let’s talk about rim materials. Upgrading from standard alloy to reinforced or carbon rims can greatly reduce damage. Wider rims also help by spreading out impact forces better.
Finally, consider tougher tire casings too! Thicker casings, like those found in Enduro tires, minimize punctures and enhance rim protection. Together, these upgrades guarantee we can tackle drops without worrying about blowing out our rims. Happy riding!
Practicing Drop Techniques Safely
Now that we’ve made our bikes tougher, it’s time to get down to some serious practice! To safely improve our drop techniques, we should start with smaller drops. This helps with precision and builds confidence.
Remember to do a quick risk assessment—check for rocks, roots, or any hazards below. We want to know what could happen if we overshoot or undershoot that landing!
Next, let’s focus on our body positioning. Shifting our weight back at the drop edge is key. And don’t forget to wear protective gear like helmets and pads!
With practice, we’ll progress our skills while adapting to different terrains. So, let’s have fun and keep it safe out there!
Learning From Experienced Riders
When we think about leveling up our drop skills, learning from experienced riders is a game changer! These riders have mastered drop execution and terrain reading, so let’s soak in their wisdom. They often emphasize the importance of body positioning—keeping our weight balanced and hips shifted back before we hit that edge!
Watching skilled riders isn’t just about technique. It’s about seeing how they read the terrain and adjust their speed. They advise us to focus our gaze beyond the drop, where we want to land. Remember, practice makes perfect! The more we observe and learn, the smoother our landings will be. So let’s hit the trails with open minds and a willingness to learn!
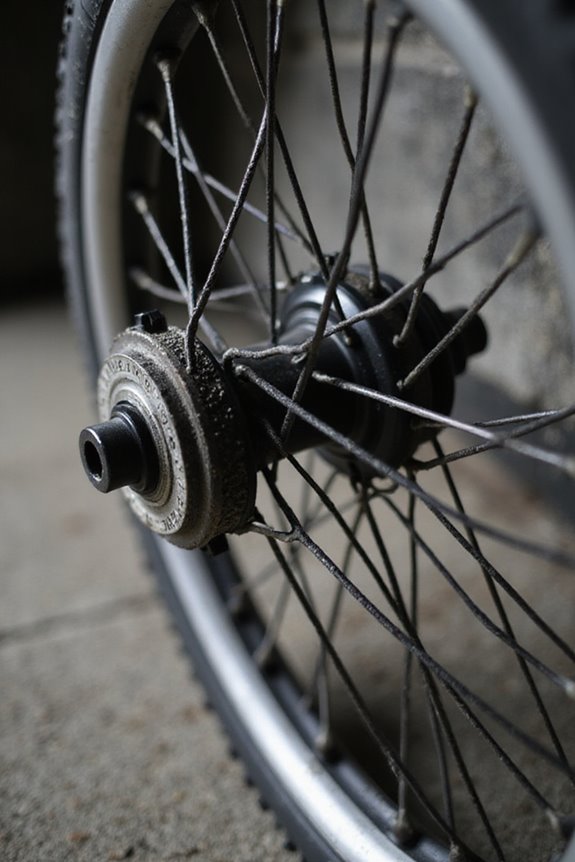
Assessing and Maintaining Rim Condition After Drops
After we tackle a drop, it’s super important to check our rims! A quick rim inspection can save us a lot of hassle down the line. Let’s look for dents, cracks, and any bends, especially on the braking surface. We should also check those spoke nipple areas for any loosening.
Next, let’s talk spoke tension. Loose spokes can weaken our wheels. We can tighten them using a tensiometer or even by plucking them to feel for slackness. Consistent spoke tension is key for even load distribution! After we adjust the spokes, we should verify the rim is nice and straight with a gauge.
Frequently Asked Questions
How Can I Tell if My Rims Are Damaged?
To tell if our rims are damaged, we should perform a thorough rim inspection, looking for damage signs like cracks, dents, or irregularities. Trust your instincts if something feels off while driving; safety’s paramount!
What’s the Best Bike Suspension Setup for Drops?
Finding the perfect suspension tuning for drops is like crafting a fine recipe. We should focus on sag, compression, and rebound. Mastering these drop techniques will enhance our ride and boost our confidence on bigger descents together.
How Often Should I Check Tire Pressure Before Riding?
We should check tire pressure before every ride, and especially when temperatures or altitudes change. Regular checks keep us safe, enhance performance, and help us enjoy our time on the trails together without worries.
Can Weather Conditions Affect Landing Performance?
Absolutely, weather conditions can greatly affect landing performance. We’ve noticed that rain impacts traction, while temperature effects on air density can alter lift. These factors together require careful attention to guarantee safe landings.
How Do I Know When to Replace Tires?
When it’s time to say goodbye to our tires, let’s pay attention to the tire tread depth and tire age. If cracks appear or tread thins, we shouldn’t hesitate—safety’s worth every mile.