As an Amazon Associate, we earn from qualifying purchases. Some links on this site are affiliate links at no extra cost to you. Our recommendations are based on thorough research and editorial judgment.

How To Tension A BMX Chain Without A Tensioner?
To tension a BMX chain without a tensioner, we can simply adjust the rear wheel position! First, we loosen the rear axle nuts, then gently pull the wheel back to tighten the chain. Make sure the wheel is centered between the dropouts, then tighten the nuts again, starting with the drive side. It’s essential to check the chain slack and alignment to keep everything running smoothly. Let’s explore more tips for maintaining our ride!
Key Takeaways
- Loosen the rear axle nuts to allow the wheel to move without removal, then pull the wheel back to tighten the chain.
- Visually center the wheel between the frame’s dropouts to ensure proper alignment for chain tensioning.
- Utilize eyebolts on dead axles for fine adjustments without requiring specialized tools.
- Temporarily implement the loose sprocket hack in emergencies to quickly adjust chain tension.
- Regularly check chain slack and inspect brake adjustments to maintain optimal performance and safety.
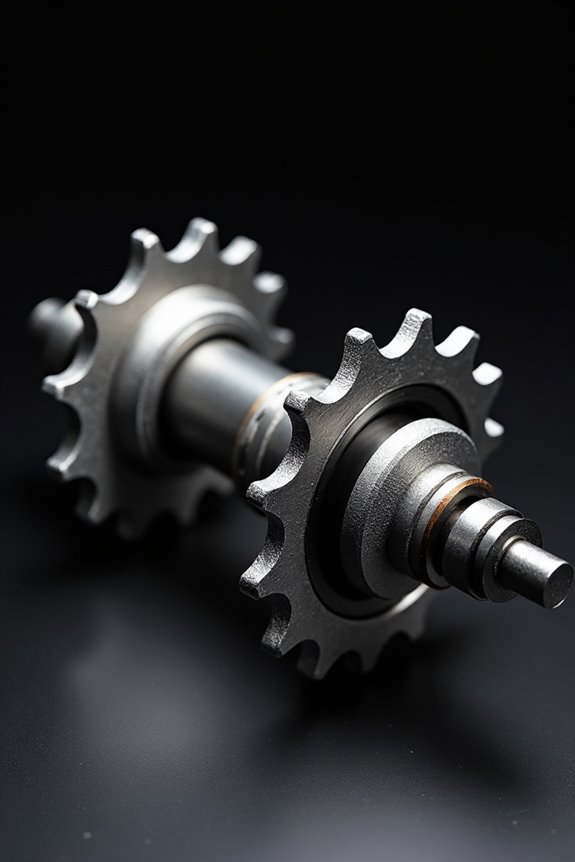
Necessary Tools for Chain Tensioning
You may be interested


When we’re gearing up to tension a BMX chain, it’s super important to have the right tools at our side! First off, we need our basic hand tools like wrenches, screwdrivers, and pliers. They’re essential for adjusting those tricky axle nuts. Next, a ruler or tape measure is vital for checking chain slack—it helps us nail that perfect tensioning technique!
Don’t forget about specialty tools! A chain whip tool keeps the sprocket steady while we adjust. And of course, a torque wrench makes certain everything’s snug and secure. Additionally, ensuring axle length options are correct can prevent alignment issues during the tensioning process. With our tool selection ready, we can guarantee our BMX rides smoothly, letting us focus on the fun! Let’s get started on crafting the ideal chain tension together!
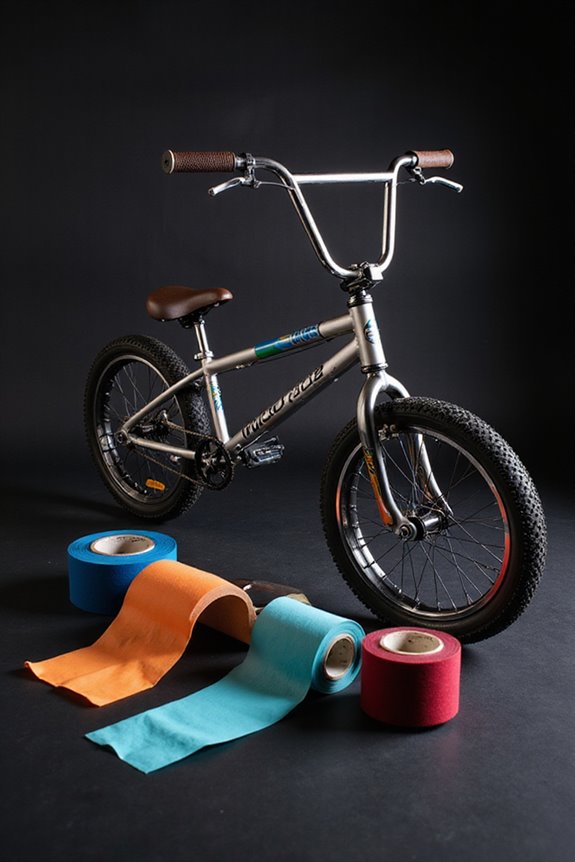
Preparing Your BMX for Adjustment
Getting our BMX ready for chain tensioning is an exciting step! First, let’s kick things off with a thorough frame inspection. We want to check the rear dropouts for any damage or bends and make certain they’re clean. A clean frame equals easier adjustments!
Next, we’ll look at the chain. A chain cleaning is critical to remove any dirt or buildup. While we’re at it, let’s check for any wear or rust. Lubricating it lightly helps too, guaranteeing smooth movement.
Finally, let’s verify our rear wheel and hub are in good shape. We want everything to rotate freely and not have any pesky wobbles. With these steps, we’re all set for tensioning our BMX chain like pros! Additionally, it’s essential to remember that proper chain tension contributes to the evolution of BMX culture, ensuring an optimal riding experience.
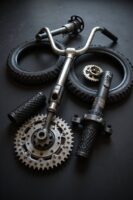
Adjusting Rear Wheel Position
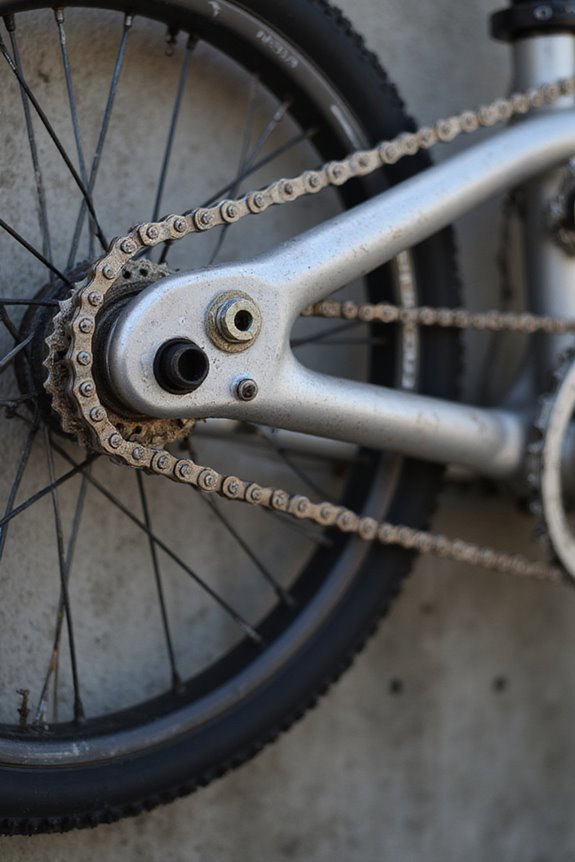
Adjusting the rear wheel position is our next big move after we’ve prepped the BMX! First, let’s loosen the rear axle nuts just enough for the wheel to shift side to side—don’t remove them completely. We need to maintain that wheel alignment, so a quick visual check guarantees it’s centered between the frame’s dropouts.
Next, we pull that wheel a bit backward to tighten the chain. Make those adjustments gently! When we’re happy, let’s tighten those axle nuts, starting with the drive side first. Remember, a little patience goes a long way, so we can keep everything in perfect alignment. With some careful axle adjustment, we’ll have that chain tension just right! Additionally, ensuring proper fit of the BMX chain is crucial for optimal performance and longevity.
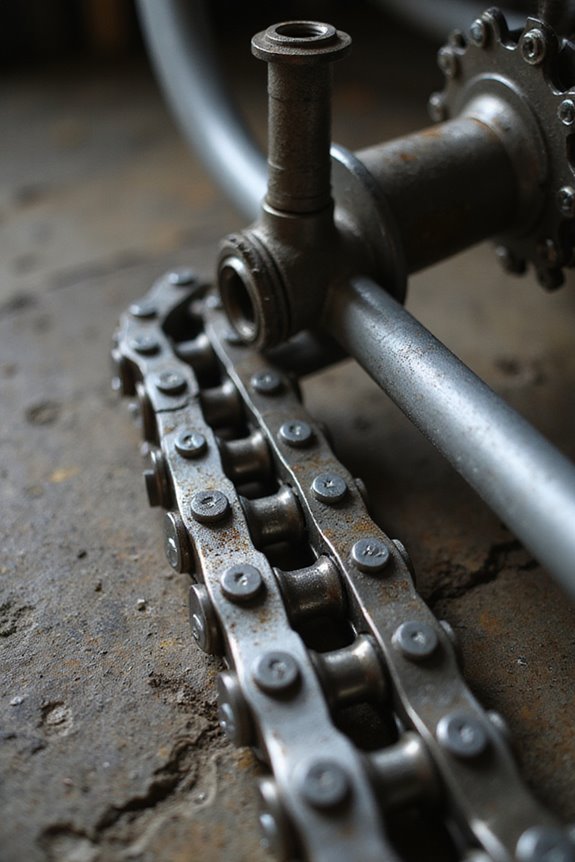
Checking Chain Slack and Alignment
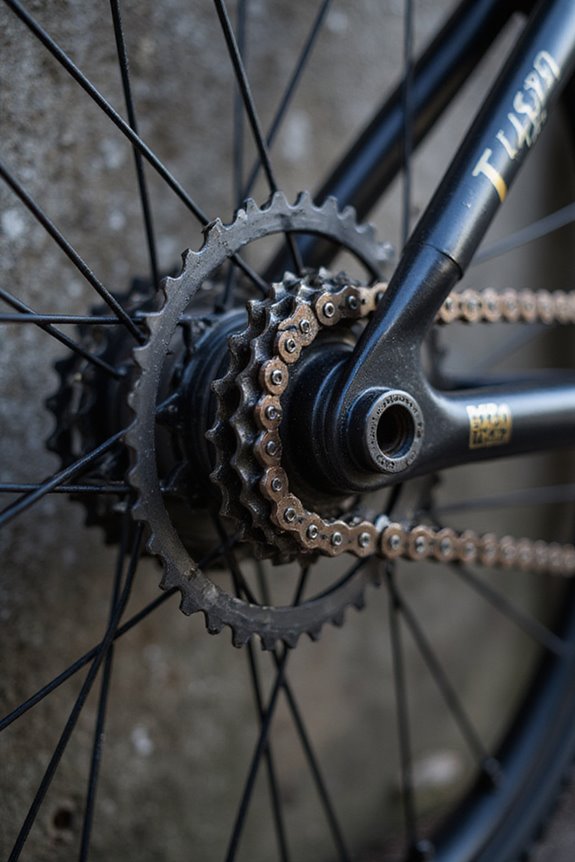
Checking chain slack and alignment is an essential step for keeping our BMX ride smooth and safe. We want to measure slack when the bike’s on a stable stand—trust us, it makes a difference! Grab a dedicated measuring tool for accurate results. Make sure our chain is clean and warm, too.
To check alignment, we should look at the chain’s path. It needs to run parallel to the frame without any wobbling. Alignment issues can cause chain noise and mess with our drivetrain efficiency. Regular checks on brake cable tension can help ensure overall bike performance, as chain adjustments often influence braking effectiveness.
If the chain feels stiff or hits the swingarm, we need to make adjustments ASAP! Consistent checks help us catch problems before they turn into big headaches on our rides. So let’s keep our rides as smooth as possible!
Techniques for Tensioning Without a Tensioner
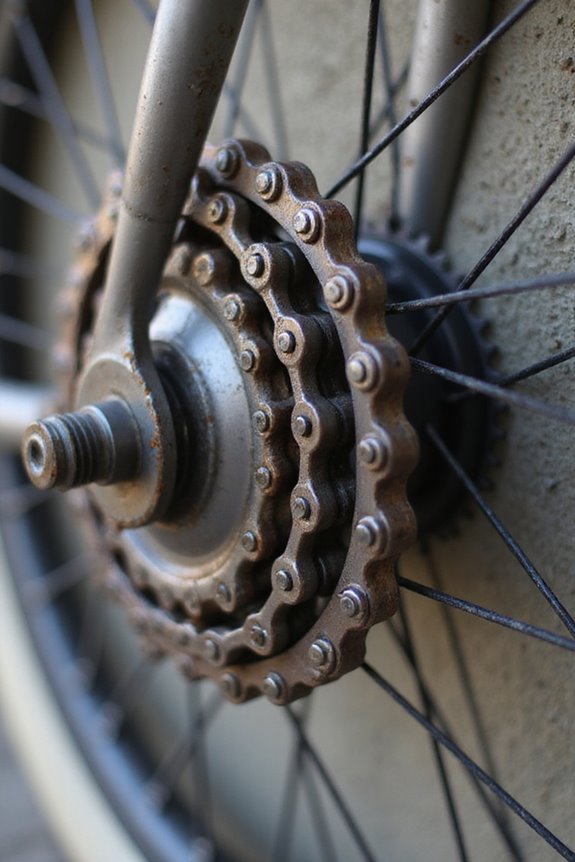
When we’re looking to keep our BMX chain in check without a tensioner, we’ve got some handy techniques up our sleeves! One of the best tensioning methods is adjusting the rear wheel position. We just loosen the axle nuts, pull the wheel back to remove slack, and tighten it up while checking alignment.
Another cool trick is using eyebolts on dead axles, allowing fine adjustments without fancy gear. If we ever find ourselves in a pinch, we can also try the loose sprocket hack as a temporary solution! Finally, manual chain pull techniques let us exert direct control over the tension, ensuring our rides stay smooth. With these tricks, we’re ready for any BMX adventure! Additionally, it’s crucial to regularly inspect the brake adjustments to maintain optimal performance as we ride.
Recommended Products

AUTOMATIC CHAIN PERFECTION: This bike chain tensioner is the ideal addition to your custom chopper, bobber, or cafe racer. Designed to integrate with 530 sprockets seamlessly, it offers a reliable and professional solution for automatic chain tension.

【Durable Aluminum Alloy Construction】Built from high-grade aluminum alloy with an 11T guide pulley, this single speed chain tensioner offers excellent strength and impact resistance while remaining lightweight—ideal for aggressive trail, all-mountain, and downhill riding.

THE SOLUTION FOR PERFECTLY ADJUSTED CHAIN 24/7 [PATENT PENDING]: Once this dynamic comparator is calibrated for your motorcycle, it indicates in real time what the perfect slack of the chain should be. The easy to read indicators will let you know if the chain is too loose, OK or too tight.
Common Pitfalls to Avoid
We’ve got some great tips for tensioning our BMX chains, but there are also a few common pitfalls we should watch out for! First off, let’s make sure our rear wheel is aligned properly; a crooked wheel can lead to uneven chain wear and funky tension. Next, we need to keep an eye on chain slack. Too much or too little can mess with our ride! And don’t forget the crank and frame fitment; misalignment here can cause headaches down the road. Additionally, regular checks on chainring compatibility are key to ensuring proper fitment and performance. Finally, regular checks are key! Ignoring chain wear can ruin our drivetrain efficiency and lead to costly repairs. Stay on top of these details, and we’ll keep our BMX rides smooth and fun!
Long-Term Maintenance Tips
To keep our BMX chain in top shape, it’s crucial we stick to a regular maintenance routine! First, let’s focus on lubrication practices. We should lubricate our chain every 150-200 km, depending on riding conditions. A little goes a long way—just a drop on the inside rollers is perfect.
Next, cleaning is key! We must use bike-specific degreasers and a small brush to scrub away dirt and grime. Afterward, dry the chain thoroughly before reapplying lube to prevent rust and guarantee smooth performance.
Finally, let’s keep an eye out for chain wear. If we spot rust or hear squeaks, it’s time to clean and lubricate! A well-maintained chain means longer rides and less hassle!
Frequently Asked Questions
What Tools Do I Need for Chain Tension Adjustments?
For chain tension adjustments, we’ll need a chain tool for link adjustments and an adjustable wrench for axle nuts. Using proper adjustment techniques guarantees our BMX rides smoothly and stays in great shape!
How Often Should I Check My BMX Chain Tension?
We should check our BMX chain tension frequently—ideally before every ride. Regular chain maintenance guarantees riding performance stays smooth. A quick inspection keeps us safe and our bike in top condition, ready for adventure!
Can I Use a Different Chain Size for My BMX?
Sure, we can explore different chain sizes, but we’ve gotta tread carefully. Chain compatibility is essential; the size impact can mean the difference between a smooth ride and a chaotic mess. Let’s choose wisely together!
Is Chain Tensioning the Same for All BMX Bikes?
Chain tensioning isn’t the same for all BMX bike types. Each frame design affects compatibility and methods, so we need to adjust our approach based on whether our ride favors racing or freestyle.
What Happens if My Chain Is Too Loose?
If our chain’s too loose, it can skip, leading to gear wear that’s like a slow-motion train wreck. We lose power and control, risking our safety and damaging our bike. Let’s keep it tight, friends!