As an Amazon Associate, we earn from qualifying purchases. Some links on this site are affiliate links at no extra cost to you. Our recommendations are based on thorough research and editorial judgment.

How To Install A Half-Link Chain On BMX?
Installing a half-link chain on your BMX is super easy! First, we’ll pick a compatible chain and check it for damage. Next, we guide it through the rear cog and front sprocket, keeping the large plate facing forward. We’ll adjust the length for slack and connect the ends using a removable pin and cotter pin. Don’t forget to maintain it with regular cleaning and lubrication! Stick around, and we’ll share even more tips for a smooth ride!
Key Takeaways
- Select a half-link chain that matches your BMX sprocket and driver width, ensuring proper compatibility and durability.
- Carefully thread the chain through the rear cog and front sprocket, keeping the larger plate faces forward to prevent binding.
- Adjust the chain length by measuring slack and using a chain tool to remove or add links as necessary for optimal tension.
- Secure the chain ends by aligning the inner and outer links, inserting a removable pin, and locking it with a cotter pin.
- Maintain your chain regularly by cleaning, lubricating, and inspecting it for wear to ensure smooth performance while riding.
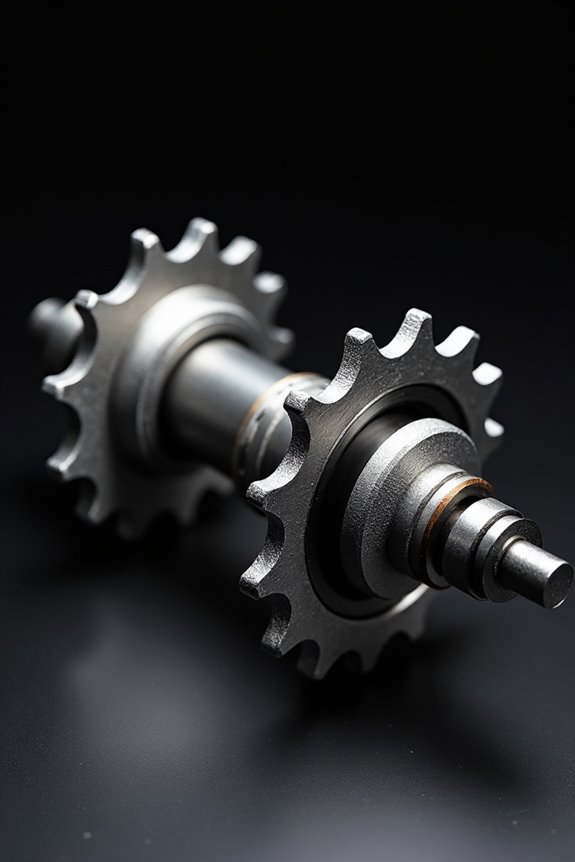
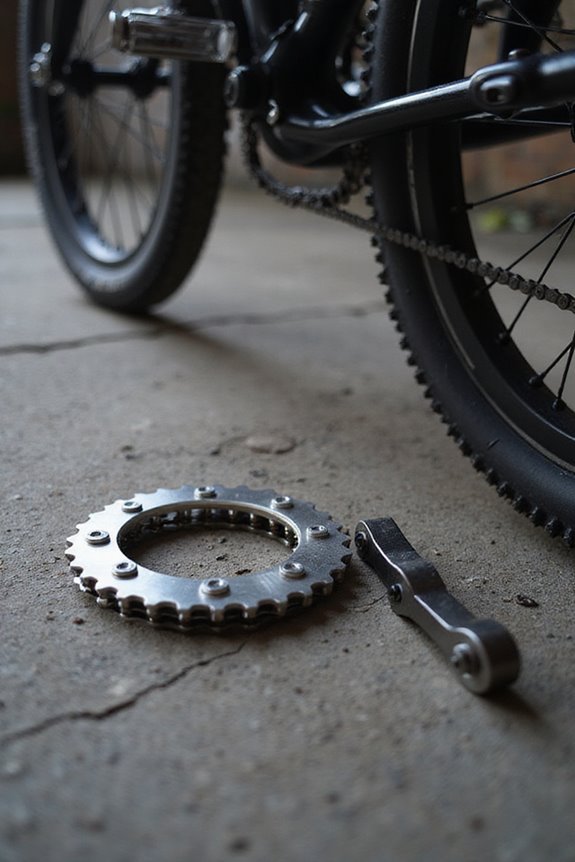
Preparing and Selecting the Chain
You may be interested


When we’re gearing up to install a half-link chain on our BMX, it’s super important to choose the right one first! We need to think about chain compatibility with our sprocket and driver width. This helps prevent any headaches down the line.
Next, let’s make sure we check the link orientation. Remember, the larger plate should face forward for strength, and we need to inspect each half link for any damage.
When picking the chain length, we’ll thread it through the rear cog and front sprocket to get an estimate. Adjusting with half links allows us to find that perfect tension without slack—super handy for our setups! Trust us, it’s all about that sweet spot for smooth riding! Additionally, selecting a chain made from corrosion-resistant materials ensures durability and longevity, enhancing overall bike performance.
Recommended Products

L80 is a fully park, street or dirt worthy freestyle BMX bike, Hi-Ten steel 9 inch rise handlebar that will make you stand out at the bike park, Suggested rider height is 5’6” - 6'0".

Constructed from durable, steel, the Salt Plus Warlock Chain 1/8" combines strength and lightweight performance for optimal cycling efficiency.

RUGGED BIKE CHAIN - Utilizing a forging process in the link construction, the Supreme Chain is incredibly strong, not only in sheer tensile strength but also in the grinding and bashing department; The forging process actually makes the material stronger and more resistant to damage
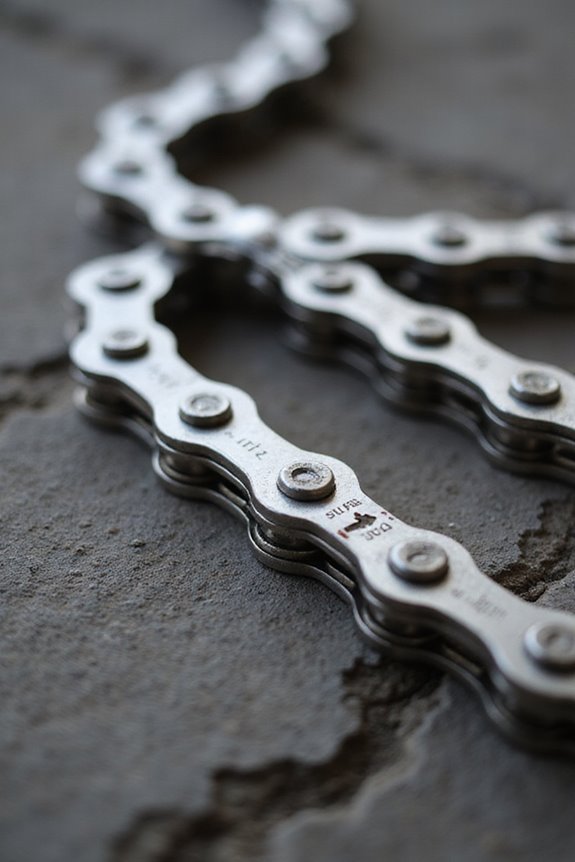
Threading the Chain Through the Drivetrain
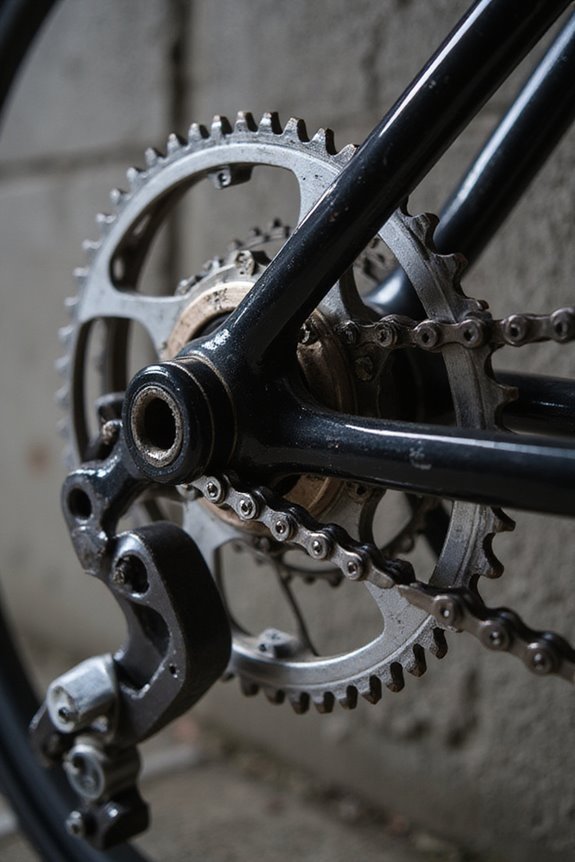
Let’s dive right into threading the chain through the drivetrain! First, we guide the half-link chain through the rear wheel’s driver, making certain it meshes perfectly with those teeth. Next, we pass the chain over the front sprocket, keeping our drivetrain alignment in check.
We have to guarantee the larger part of the half-link plate is facing forward for strength. It’s super important to position the chain to allow movement—this helps with chain tension and prevents any binding as we ride. Remember, keeping the orientation of the links correct prevents problems later on! After threading, we can double-check the slack to guarantee a smooth ride. Additionally, using a reliable bike chain ensures durability and performance during your rides.
Let’s make every ride feel like a breeze!
Recommended Products

Single-use connecting link
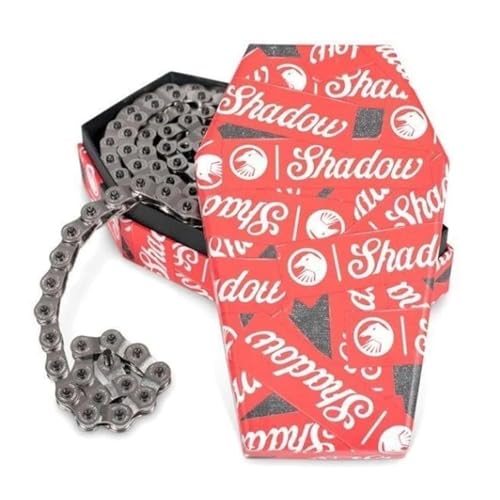
OPTIMAL VERSATILITY - The Shadow Interlock V2 Half-Link Chain sets the standard for precision and adaptability. Its fully half-link design makes it incredibly versatile, perfect for dialing in your rear-end length with ease. This is the original and best half-link chain—nothing else compares.

RUGGED BIKE CHAIN - The Shadow Conspiracy Interlock V2 Chain has the highest tensile strength of any 1/8th chain on the market at over 1300kgf; Ridden by most top pros and imitated by many, this chain has been the standard since its inception
Adjusting Chain Length
Adjusting the length of our half-link chain is key to keeping our BMX ride smooth and efficient! To guarantee proper chain tension, we’ll start by measuring any slack. Pull the chain gently away from the sprocket; keep an eye on the alignment with both front and rear sprockets.
To find the ideal length, place the chain on the largest chainring and sprocket. Then, wrap it around the hub driver. If we have a chain guide, let’s route the chain through it first!
Using a chain tool, we can remove or add links as needed. Always remember—too tight can cause wear, and a loose chain can lead to slips. To ensure optimal performance, we should also consider gear ratios that suit our riding style. Let’s keep our ride as smooth as possible!
Recommended Products

A professional-grade tool designed to drive rivets in and out of any bicycle chain

Wide range of professional automotive specialy tools

A daily use, shop version of our world famous CM-5.2 Chain Scrubber
Connecting the Chain Ends
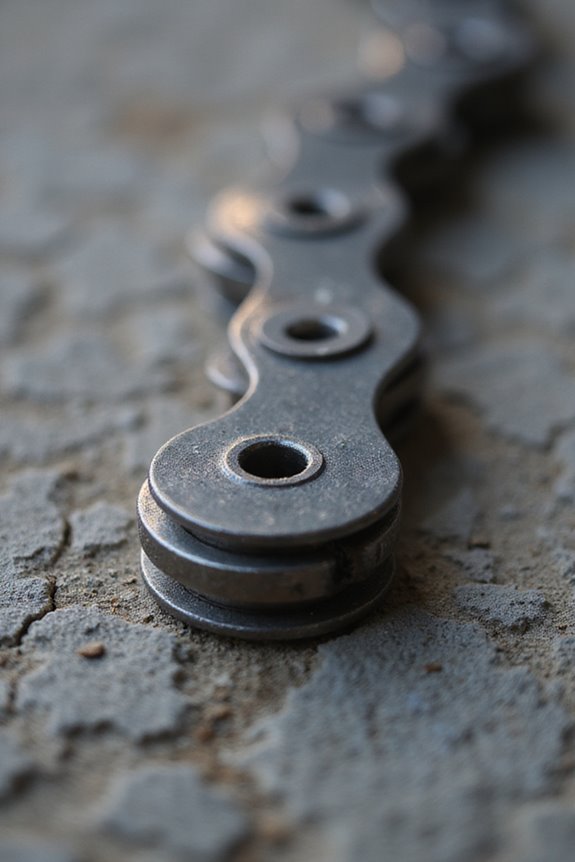
Connecting the chain ends can feel a bit tricky, but once we comprehend what to do, it’s smooth sailing! First, we need to make sure our half-link chain’s inner and outer links align perfectly. The round hole should go into the half-link followed by the D-shaped hole, making for easier pin insertion.
Next, we’ll insert the removable pin through aligned holes and use our chain tool for that gentle push, ensuring it fits snugly. Let’s not forget about the cotter pin! We need to lock it in place to secure our connection fully. Always check that the larger plate faces forward for strength and durability. With these alignment techniques in mind, we’re ready to ride safely! Additionally, ensuring that the chain has a half-link design can provide precise adjustments for improved performance.
Recommended Products

Quickly and easily breaks 40 and 50 type chain; easily press-fits tight tolerance 40, 50 O-ring chain side plates to the correct depth for clip or rivet link installation

Product Dimension: The chain repair pliers measure 23 inches in total length with a 17-inch handle and weigh 6.1 lbs

Your Snow Chain Tightening Solution Compatible With 1/2 inch Ratcheting Wrench Manufactured Out of One Piece of Hardened Tool Steel Semi Truck Snow ChainingTool Black Oxide Finish For Extra Strenght and Rust Resistance
Final Installation and Adjustment
Now that we’ve securely connected the chain ends, we’re ready for the final installation and adjustment. First, let’s focus on chain tension. We should aim for about ½ inch of vertical movement midway between the front sprocket and rear cog. If it’s too tight, we can use our adjustment methods, like removing or adding half links.
Next, let’s align the rear wheel straight in the frame to prevent chain binding. As we rotate the pedals slowly, we should check for any resistance. Finally, once everything looks good, we’ll double-check those axle nuts before taking our bike for a spin! With these installation techniques, we’re setting ourselves up for smooth rides ahead! Additionally, ensuring the axle has proper thread specifications is crucial for a secure fitment and optimal performance.
Recommended Products

RUGGED BIKE CHAIN - Utilizing a forging process in the link construction, the Supreme Chain is incredibly strong, not only in sheer tensile strength but also in the grinding and bashing department; The forging process actually makes the material stronger and more resistant to damage

OPTIMAL VERSATILITY - The Shadow Interlock V2 Half-Link Chain sets the standard for precision and adaptability. Its fully half-link design makes it incredibly versatile, perfect for dialing in your rear-end length with ease. This is the original and best half-link chain—nothing else compares.

Odyssey Bluebird Chain - Single Speed 1/2 x 1/8 100 Links Black
Maintenance Considerations
When it comes to keeping our half-link chain in top shape, a solid maintenance routine is key! First, we need to establish a cleaning routine. Using a gentle degreaser and a soft brush, we can scrub off dirt and old lubricant. After rinsing and drying the chain, a quick clean with a dry cloth after rides will help keep things tidy!
Next up are our lubrication practices. Let’s apply quality chain lubricant evenly by pedaling and wipe away any excess. For different weather, we should choose wet lubricants for muddy conditions and dry ones for dry rides. Regular re-lubrication guarantees our chain runs smoothly and lasts longer. Additionally, paying attention to the material choice of your chain can enhance performance and longevity. Happy riding!
Common Mistakes to Avoid
Before we plunge into the nitty-gritty of installing a half-link chain, let’s make sure we steer clear of some common pitfalls! First off, we must always install the chain with the larger plate facing forward. Ignoring this simple step can lead to significant durability issues.
Next, let’s talk about chain length. If we don’t thread the chain fully before sizing, we might end up with improper tension, which can cause serious problems later.
Another common error is misaligning those half-link pieces during assembly. They need to be perfectly aligned or else we risk a disassembly disaster while riding!
Lastly, using proper tools is essential—trying to force links without a chain breaker isn’t just frustrating, it’s risky! Let’s avoid these common installation pitfalls together!
Tips for Optimal Performance
To keep our BMX running smoothly, knowing how to manage our half-link chain is key! First off, let’s remember to check our chain lubrication regularly. A well-lubed chain reduces friction and prolongs its life.
Next, we should conduct wear inspections to catch any issues early. Look for signs of stretching or damage—this helps prevent unexpected breakages.
After riding with a new chain, we can reevaluate the tension after the break-in period and adjust as necessary.
And don’t forget: proper installation and tension are crucial! A little time spent tuning our chain means a smoother ride every time. So, let’s keep up with these tips, and we’ll enjoy every ride to the max!
Frequently Asked Questions
Can I Use a Regular Chain Instead of a Half-Link Chain?
Sure, we can use a regular chain, but it may lead to chain compatibility issues and more frequent chain maintenance. For precision and performance, we often prefer half-link chains—like choosing a fine wine over a casual beer.
What Tools Do I Need for Half-Link Chain Installation?
For half-link chain installation, we’ll need a chain breaker, Allen keys, and gloves for proper chain maintenance. Let’s remember these installation tips to guarantee everything runs smoothly and holds up during our rides together.
How Often Should I Lubricate My BMX Chain?
We should lubricate our BMX chain every 100-150 miles or weekly if we’re riding daily. Let’s follow those chain maintenance tips, adjusting based on conditions to keep our rides smooth and enjoyable together!
Will a Half-Link Chain Fit Any BMX Bike?
Yes, half-link chains fit any BMX bike, as long as compatibility with drivetrain specs is met. We love their advantages, especially for fine-tuning chain length, ensuring ideal performance and tension for our rides.
How Can I Tell if My Chain Is Too Tight?
If our chain’s tension feels more like a guitar string than a snuggly fit, we’ve probably got issues. Let’s check for sag; adjusting the chain is key to keeping our ride smooth and fun!