As an Amazon Associate, we earn from qualifying purchases. Some links on this site are affiliate links at no extra cost to you. Our recommendations are based on thorough research and editorial judgment.
How To Center U-Brakes On A BMX?
To center U-brakes on a BMX, we’ll need a few tools like a 5mm hex wrench and a 13mm wrench. First, we loosen the brake arms’ bolts and adjust the spring tension for balance. Next, we align the brake pads so they hit the rim just right. Don’t forget to check the cable and straddle wire for smoothness! It’s all about making sure everything’s running smoothly. Stick around for more tips on fine-tuning your setup!
Key Takeaways
- Use a 5mm hex wrench to loosen the brake arm fixing bolt for initial adjustments to the U-brake arms.
- Adjust spring tension with a 13mm wrench; clockwise increases tension on the left arm and counterclockwise on the right.
- Position brake pads to contact the lower edge of the rim, ensuring proper engagement while minimizing noise through toe adjustment.
- Center the U-brake arms by evaluating their movement; adjust by tightening or loosening one arm’s bolt for symmetry.
- Regularly check and grease pivot points for smooth operation and avoid over-tightening bolts to prevent binding.
Tools and Preparation for Centering U-Brakes
You may be interested
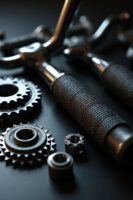
When we’re gearing up to center U-brakes on a BMX, we’ll need some essential tools to make the job easier. First off, we definitely want a 5mm hex wrench for the brake caliper bolts. An adjustable wrench or spanner is handy for general adjustments.
Also, a torque wrench is super helpful to guarantee even tightening, which is a key brake maintenance tip!
Don’t forget a flashlight or white paper to help us align those pads with the rim. And, while not always necessary, having a truing fork around can be a game-changer for small tweaks. Additionally, ensuring the brake pads have proper shock absorption is crucial for optimal performance and safety.
With this tool selection guide in hand, we’re set to tackle this brake centering project together! Let’s get started!
Recommended Products

ncludes 1.5, 2, 2.5, 3, 4, 5, 6, 8, and 10 mm sizes

🔩 Dual-Tip T-Handle Design for Versatility - The 96T series features two 5mm hex tips - one on the extended leg and one on the side of the T-handle - providing access in tight spaces and extra leverage for high torque applications.

【SPECIALIZED APPLICATIONS】 - Ideal for tightening closed circuit nuts in air conditioning and brake lines, our Tubing Ratchet Wrench protects delicate copper nuts from damage. Essential for specialized tasks, it ensures integrity and precision in critical systems.
Spring Tension Adjustment
Adjusting the spring tension on your BMX’s U-brakes is essential for best performance! This will directly impact your braking efficiency and how your bike handles. Let’s make sure your spring mechanism works just right!
Start by loosening the brake arm fixing bolt with a 5 mm Allen key. Then, grab a 13 mm wrench to adjust the spring tension caps. Remember, turning clockwise increases tension on the left arm, while the right goes the opposite way. We want balanced tension, so both arms return equally after braking!
Test your brakes after adjustments. If they’re too tight or loose, fine-tune until they feel just right. Keep everything clean and lubricated for smooth operation. Additionally, maintaining proper brake adjustment is crucial for ensuring safety while riding. Happy riding!
Recommended Products

Odyssey Evo 2.5 U-Brake + Mono Lever + Cable Kit Black BMX Evolver Bike Brake

Odyssey Springfield Brake

Odyssey Springfield Kit – Springfield U-brake – Springfield lever – Slic cable
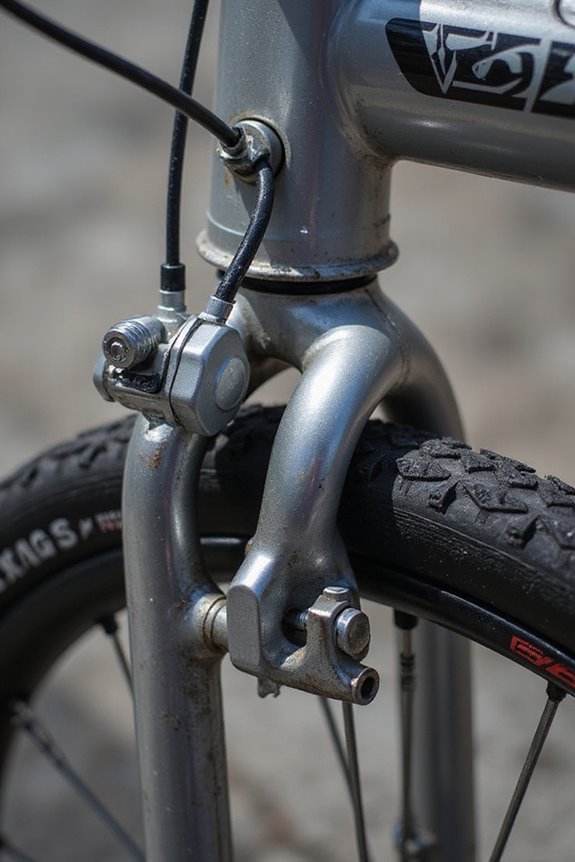
Brake Pad Alignment and Centering
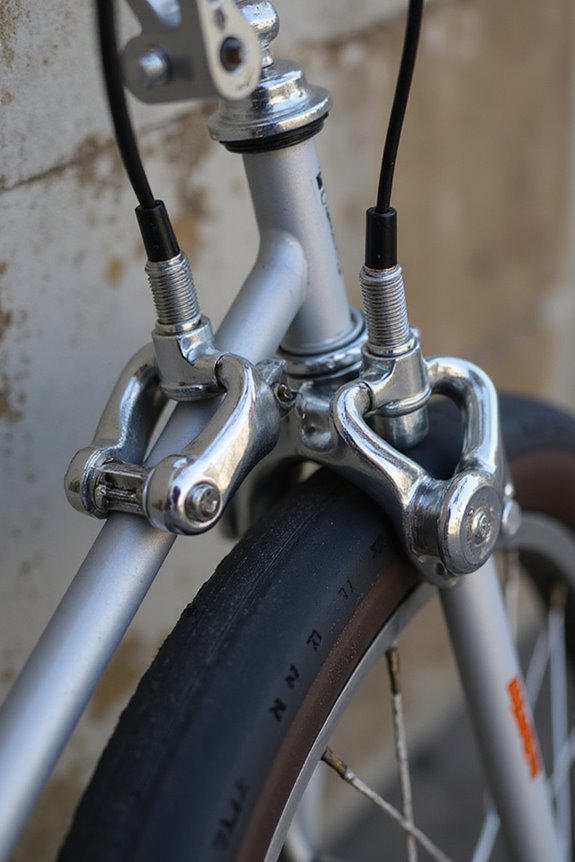
Getting our brake pads aligned and centered is vital for smooth stops and a safe ride! First, let’s focus on brake pad positioning. We want those pads to contact the lower edge of the rim for optimum performance. It’s imperative they sit squarely, guaranteeing maximum braking force without any uneven wear.
Next, let’s tackle toe adjustment. Adjusting the pads so the front edge touches the rim slightly first reduces noise and helps with control. With the help of those handy convex-concave washers, we can easily angle them as needed. Just remember to check that everything’s secure after we’re done! A little observation during braking will guarantee they engage properly, without any rubbing. Additionally, ensuring the use of high-quality metals in your bike components can enhance overall performance and durability. Let’s keep those rides friendly and fun!
Recommended Products

【4-Piston Hydraulic Brakes Precision】The 4-piston bike brakes with dual-directional drive boosts braking force by 50% and heat dissipation performance by 80% compared to traditional 2-piston calipers. It eliminates brake fade even on continuous downhill stretches, reduces the risk of brake failure, and enhances both braking efficiency and long-term durability.

【4-Piston Hydraulic Brakes Precision】ZTZ 4 piston hydraulic brakes deliver 15% faster response vs standard hydraulic disc brakes, with 1.2m shorter stops at 30km/h. Safety Tip: Break-in pads with 10 gentle stops before aggressive use

4 piston Hydraulic Disc Brakes】IKUOS hydraulic brakes for mountain bike is the best Upgrade kit from mechanical brake, internal routing, suit for 160mm floating disc rotors. Zoom hydraulic brakes caliper have 4-piston oil pressure, helping you braking easier, keep you safe.
Centering U-Brake Arms
Centering our U-brake arms is a key step for perfecting our braking system! To get started, we’ll need a 5 mm Allen key and a 13 mm wrench. First, we loosen the bolt on one arm, adjusting the spring tension cap until both arms move smoothly and evenly. If one arm moves less, we tighten that side; if it moves too much, we loosen it. Remember, it’s all about symmetry!
For better brake performance, we should also apply a bit of grease to the pivots to keep things running smoothly. Regular maintenance tips include checking for binding and ensuring bolts aren’t over-tightened. Additionally, understanding brake system types can help you choose the best setup for your riding style. After adjustments, let’s test our brakes multiple times to make sure everything’s just right! Happy riding!
Recommended Products

🔹 LOCK-ON GRIP CLAMP: The Box One BMX Brake Lever is the first ever to feature a clamp for ODI Lock-On grips, ensuring your grips stay secure without the need for an additional clamp.
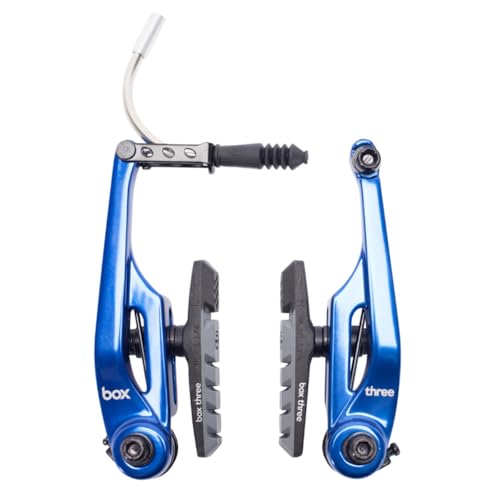
✔️ ADJUSTMENT: The Box Three V-Brake is available in 85mm and 108mm. Features a convenient BMX Brakes pad adjustment mechanism that allows riders to fine-tune the position of the brake pads up to 35 millimeters for optimal braking performance.

Intermediate Level Performance: Experience the perfect balance between beginner-friendly operation and advanced-level performance with our Throttle Lever. Designed to cater to intermediate riders, it offers precise control and improved braking efficiency.
Cable and Straddle Wire Adjustment
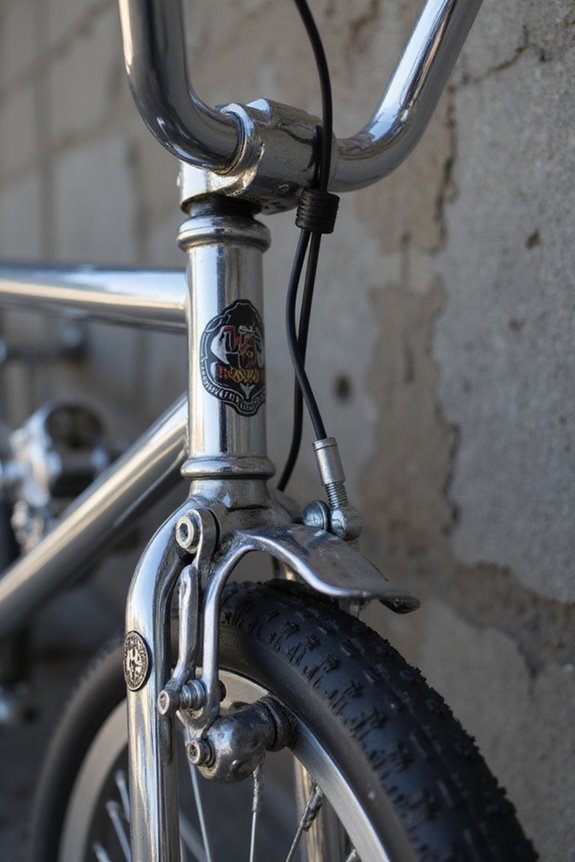
When we finish centering our U-brake arms, it’s time to tackle cable and straddle wire adjustment! First, let’s cut the cable housing to the right length. This helps avoid any extra slack that can mess with brake responsiveness. Verify the inner cable slides freely, and replace any bent sections.
Next, we thread the brake cable through the lever and frame guides. This makes for a smoother path! Attach the straddle cable about 4 cm from the last cable stop to give us balanced actuation.
Finally, let’s fine-tune the straddle wire tension using the barrel adjuster. This keeps our brake arms moving together nicely. A little adjustment here and there goes a long way in making our ride smoother!
Recommended Products
Used by professionals

Brake cable

Precise, compressionless braking performance combined with extreme flexibility
Frequently Asked Questions
How Often Should I Check and Adjust My U-Brakes?
We should check and adjust our U-brakes monthly for ideal performance, especially if we’re riding frequently. Brake maintenance is essential, ensuring we stay safe and enjoy our rides without worrying about unexpected issues. Let’s stay proactive!
Can I Center U-Brakes Without Special Tools?
Yes, we can center U-brakes without special tools! With basic brake adjustment techniques and a bit of patience, our DIY brake maintenance can guarantee smooth rides. It’s all about precision and careful adjustments together.
What Signs Indicate My Brakes Need Centering?
We’ll notice our brake performance suffering if one pad wears unevenly or sticks. Misalignment often shows with crooked arms or excessive lever pull. Let’s pay attention to these signs, ensuring our brakes stay balanced and reliable.
Is It Normal for U-Brake Pads to Wear Unevenly?
It’s not normal for U-brake pads to wear unevenly, and it often signals a need for brake maintenance. If we notice this, let’s consider a thorough inspection and possible pad replacement to guarantee safety and performance.
Can Weather Conditions Affect Brake Performance?
Yes, weather conditions definitely affect brake performance. We’ve noticed that rain, cold, and heat impact how well our brakes respond, so it’s important to take these factors into account when riding to guarantee our safety.