As an Amazon Associate, we earn from qualifying purchases. Some links on this site are affiliate links at no extra cost to you. Our recommendations are based on thorough research and editorial judgment.

What BMX Parts Should I Replace First After A Crash?
After a crash, we should prioritize checking and replacing some key BMX parts to keep our ride safe! Start with the frame and fork—look for cracks or bends. Next, inspect the handlebars and stem for damage. Don’t forget the brake system; responsive brakes are essential! Cranks and bottom brackets should be checked for play or noise too. And let’s not overlook our safety gear! If we wanna stay safe and ride smooth, let’s explore further!
Key Takeaways
- Inspect and replace the frame and fork for any cracks, bends, or misalignment that may compromise safety and performance.
- Check handlebars and stem for bends or misalignment; replace if damaged to ensure steering control.
- Evaluate the brake system for rotor damage or lever responsiveness; faulty brakes should be replaced immediately.
- Examine the cranks and bottom bracket for play, creaking, or any visible damage requiring replacement.
- Review your gear system for defective shifters or damaged chains; make necessary replacements to maintain functionality.
Frame and Fork Inspection
You may be interested


After a crash, it’s super important to check your bike’s frame and fork! We need to look for any frame bending or fork alignment issues. A bent frame can impact how we ride and could even make things unsafe. If we see the front wheel too close to the down tube or if the fork looks pushed back, that’s a red flag!
Let’s inspect the frame and fork closely for dents or cracks. Carbon frames can hide damage, so consider a pro inspection if we suspect anything. Remember, even minor misalignment can lead to bigger problems down the road. If something feels off, it’s better to get repairs or replacements done quickly. Safety first, friends! Let’s keep those rides smooth and fun! Additionally, checking for durable frame material is crucial, as it can significantly influence the bike’s overall performance and longevity.
Recommended Products

Premium Epoxy: T-88 is a high-performance structural 2-part epoxy adhesive; Our wood- and marine epoxy is endorsed by leading designers, builders and organizations

Wide range of applications, strong power:Bafang mid-drive motor kit is designed for most bicycles with a bottom bracket of 68-73mm and 34-36mm (inner diameter). For example, commuter bikes, fat bikes, mountain bikes, road bikes, and many more. The 1000W motor can reach a maximum speed of 55km/h and a maximum torque of 160N.m, which can give you more power when riding on the road or climbing mountains.

【Unleash Motorcycle-Level Power】 The Tomofree L7 dual motor electric scooter delivers a staggering 6000W peak output, conquering 35° slopes and reaching top speeds of 50 MPH in dual-drive mode. With high torque performance comparable to motorcycle-grade acceleration, this fast electric scooter redefines urban and off-road riding for adults seeking extreme power and control.
Handlebars and Stem Evaluation
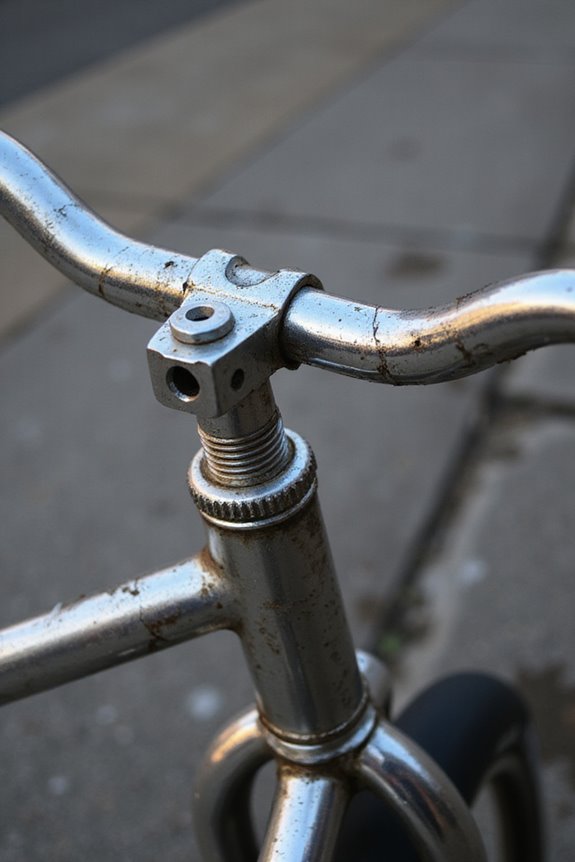
We need to give our handlebars and stem some serious attention after a crash! First off, let’s check if the handlebars are still aligned. A quick look can reveal if they’re knocked out of place. If we see any bends or cracks, it’s time for handlebar replacement options.
Next, let’s inspect the stem. Misalignment makes steering tough! We can use simple stem alignment techniques to get it back on track. We should also tighten any loose bolts but be careful not to overdo it, especially with carbon parts.
Don’t forget the grips and bar end plugs! If they’re torn or missing, replacing them guarantees we’re safe and comfy on our rides. Additionally, it’s essential to consider the rise and width specifications of any new handlebars to ensure optimal rider comfort and control. Let’s keep our rides smooth and secure!
Recommended Products

DO NOT GUESS YOUR STEM SIZE — This KINEKT suspension stem is 100mm length with 50° high rise. Confirm your bike has a 1 1/8" threadless steerer tube and 31.8mm handlebar clamp before ordering. Fits flat, riser, and drop bars; stem-mounted handlebar bags are not compatible.
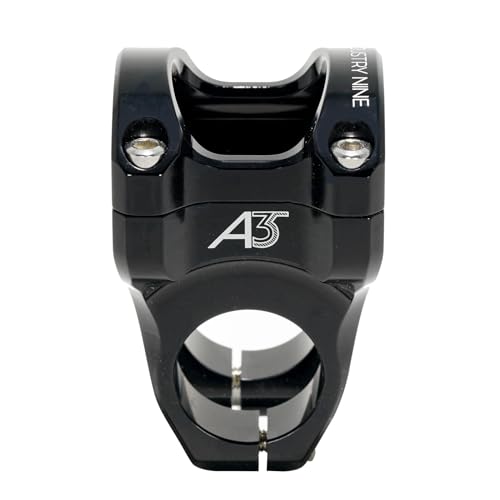
QUALITY DESIGN - This 35mm handlebar clamp provides 180 degree contact on the stem body for twist-free security. These bike stems are made of domestically-sourced 7075 aluminum and assembled in North Carolina. Industry Nine utilizes advanced manufacturing techniques to ensure these bike stems last through mud-blasting washes and rainforest climates

The Ritchey WCS C220 stem is quick and easy to install thanks to a press-fit handlebar clamp interface and forward-facing hardware
Headset and Steering Components
Let’s talk about the headset and steering components! After a crash, we’ve got to check these carefully. First, let’s inspect the headset cups for cracks or play in the bearings. If they’re damaged, that’s a red flag for replacement!
Next, we should turn those handlebars and listen for any grinding sounds. Any roughness means we’re looking at some headset maintenance. We also need to make sure the top cap and compression system are intact; worn parts here can lead to instability. Additionally, keep in mind that regular maintenance is essential to maximize performance and ensure rider safety.
Lastly, let’s double-check the fork alignment. A bent steerer tube isn’t just cosmetic—it affects our steering adjustments. Remember, smooth steering is essential for our ride, so let’s keep these components in top shape!
Recommended Products


Fits most 80's BMX bikes

Enhanced durability with high-precision Campy angular contact bearings sealed for superior protection and reduced maintenance.
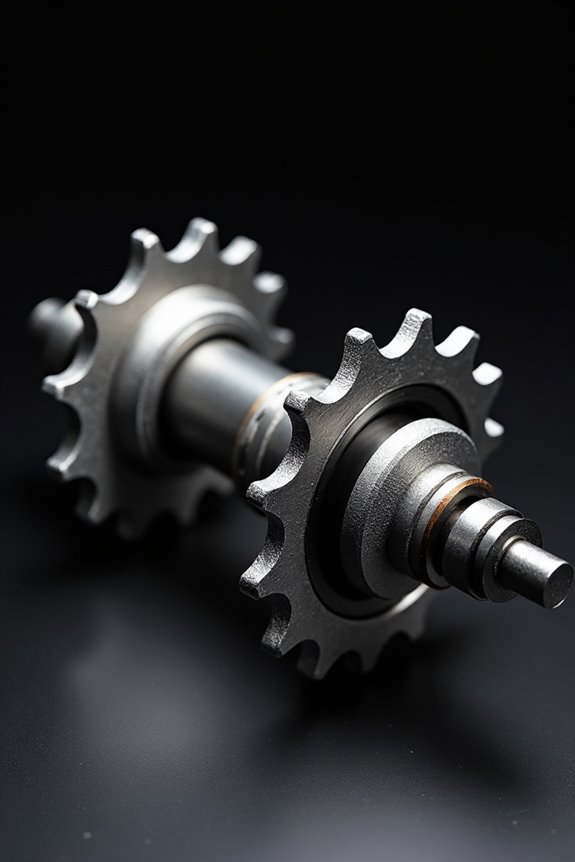
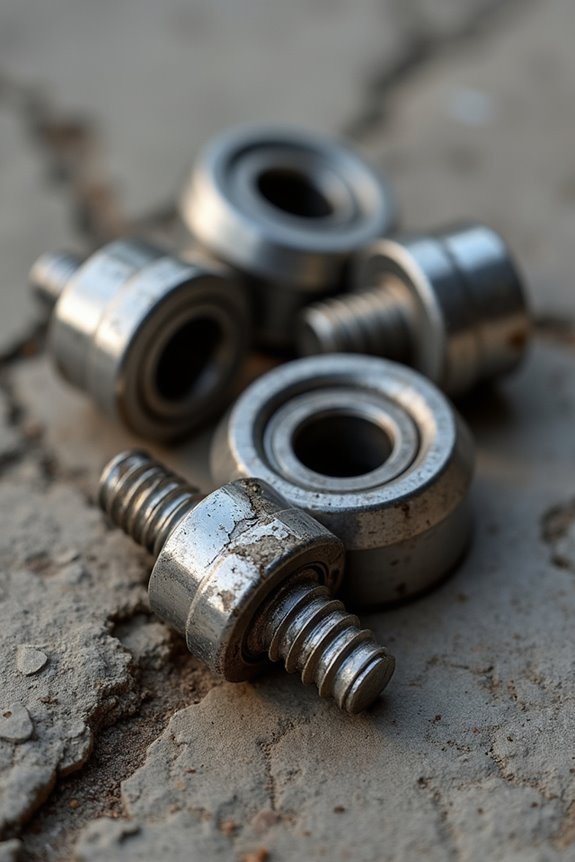
Cranks and Bottom Bracket Checks
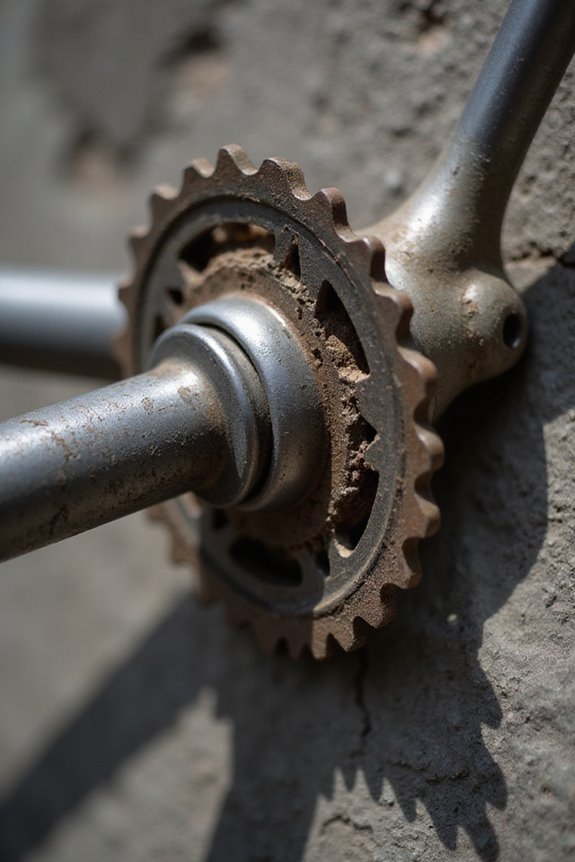
When it comes to our cranks and bottom bracket, checking for issues is super important after a crash! First, let’s inspect those crank arms. Look for cracks, bends, or any damage. We can wiggle the cranks to test for play—if they move too much, we might have a problem. Don’t forget to check the crank alignment with the sprocket to avoid chain drops!
Now, onto the bottom bracket. If we hear any creaking or grinding while pedaling, it might be time for some bearing maintenance. Let’s also check for any side-to-side play. If anything feels rough or sticky, we should remove and clean those bearings. Remember, keeping everything snug helps us ride smoothly—let’s keep our BMX bikes in top shape! Additionally, regular inspections are crucial for all components to ensure safety and performance.
Recommended Products

Classic Design: The Tracer Scorpion Pro DTS features a 26" stretch chopper cruiser design, combining retro aesthetics with modern riding comfort.

Elevate your mountain biking performance with the SRAM XXSL Eagle T-Type 165x34 DUB Blk crankset, engineered with high-strength carbon fiber hollow core arms for optimal strength-to-weight ratio.

Elevate your cycling performance with the SRAM RED E1 DUB 165mm Crank Arm Assembly, a precision-crafted component designed for road cycling enthusiasts and competitive riders.
Brake System Assessment

After a crash, our bike’s brake system deserves some serious attention! Let’s start by checking the brake rotor for any bends or cracks—these can mess up our braking power big time. If the lever feels spongy, we might have air in the system. We can use some brake testing methods to check for leaks or damage to the brake lines.
Next up, let’s verify our brake levers are aligned and moving freely using lever alignment techniques. A bent lever can make controlling our speed tricky! Finally, don’t forget to inspect those brake pads. They should sit snugly against the rotor without wear. If anything feels off, it’s time to replace those parts. V-type and U-brake designs ensure optimal stopping power and control, which is crucial for safety. Safety first, right?
Recommended Products

Model with 13.07 inch (332mm) Front Rotors & 12.59 inch (320mm) Rear Rotors Models

12.8 inch (325mm) Front Rotor & 13 inch (330mm) Solid Rear Rotor

12.8 inch (325mm) Front Rotor & 13 inch (330mm) Solid Rear Rotor
Wheel and Tire Damage Review
We’ve all been there—one minute we’re flying down the track, and the next, we’re checking our wheels after a crash! Let’s explore the essential steps for a Wheel and Tire Damage Review.
Rim Inspection
First, we should inspect our rims. Look for bends, cracks, or any warping that can affect rim alignment. If something feels off when we spin the wheel, it’s time to get a pro to check it!
Tire Integrity
Next, inspect our tires. Check for cuts, punctures, or bubbles. Any visible damage to the sidewall means a replacement is in order! We can’t forget the inner tubes, either; if they won’t hold air, it’s time for new ones. Additionally, consider the tire’s puncture resistance features to ensure safety when riding after repairs.
Safety first—don’t ride on damaged tires! Let’s keep rolling safely!
Assessing the Chain and Drivetrain
Before we hit the trails again, let’s plunge into evaluating our chain and drivetrain. First, let’s assess the chain condition. We should inspect each link for bends or cracks that could cause problems. If it skips or binds, it’s time for a replacement!
Next, we need to check the derailleur and its hanger. If it’s misaligned, our shifting won’t be smooth, and we could need to straighten or replace it.
Lastly, let’s verify our drivetrain alignment is right. This means checking the chainrings and cassette for any wear or damage. If we find any issues, it’s best not to ride until we fix them! Keeping everything in top shape guarantees a smooth and safe ride!
Pedals and Footwear Check
Next, it’s footwear time! Shoes with grippy soles are a must for BMX. We should make certain our shoes fit snugly; this avoids slipping off the pedals during tricks or crashes. If they’re worn down at the soles, it’s time for a new pair!
In essence, if our pedals or footwear show signs of damage or wear, replacing them quickly guarantees we’re safe and ready for our next ride! Let’s ride smart!
Checking the Seat and Seat Post
When we take a tumble on our BMX bikes, checking the seat and seat post is super important! First up, let’s do a quick seat surface inspection. We’re looking for any cracks, tears, or strange bends from that impact. Don’t forget to check the underside for cracks, especially if we’ve got carbon fiber rails.
Now, let’s focus on seat post alignment. We need to make sure it’s straight and hasn’t shifted. Check for bends or dents; a damaged post can be risky! Let’s tighten all clamps to keep everything secure, too. Testing for any wiggle when we sit down is smart! Remember, a solid seat setup is essential for a safe ride, so don’t skip this step!
Inspecting the Tires and Tubes
After making sure our seat and seat post are in good shape, it’s time to check our tires and tubes! Let’s start with a visual inspection. We need to look at the tire tread for uneven wear or bald spots. Any cuts or punctures in the sidewalls? Let’s keep an eye out!
Next, let’s pull out the tubes. We can look for any visible damage like holes or tears that could cause tube leaks. For tricky leaks, we can inflate the tube and check for escaping air—bubbles in water are our best friends!
Finally, let’s confirm the rim strip is smooth and that the tire bead is intact. We want everything aligned and ready to roll!
Review of the Gear System
Even though crashes can be a drag, they also give us a chance to check the gear system and make certain everything’s running smoothly! First, let’s inspect the gear shifters. We want to verify their functionality hasn’t been compromised. Next up, the derailleurs. If they’re bent or misaligned, it can lead to derailleur alignment issues, which means we won’t shift smoothly.
We should also check for any damage on chainrings, chains, and cables. Look closely at the chain for kinks or breaks. Finally, it’s wise to shift through all the gears to catch any skipping or hesitation. Simple checks can save us from future troubles and keep our ride safe and enjoyable! Let’s keep our gear system in top shape!
Safety Gear Replacement
It’s vital to replace our safety gear after a crash since even minor impacts can cause hidden damage. Let’s start with helmet replacement! If we’ve taken a hard hit, even if our helmet looks fine, the foam inside might be compromised. A cracked shell? That’s a clear sign it needs to go!
Don’t forget about our elbow and knee pads too! Post-crash, we should do safety checks on these as well. Any noticeable dents or cracks means they’ve lost their protective power.
Frequently Asked Questions
How Do I Determine if a Frame Is Repairable?
To determine if a frame’s repairable, we should conduct thorough frame inspections for visible damage and assess structural integrity. We can explore various repair techniques, but let’s prioritize safety and consider professional help when needed.
What Tools Do I Need for Basic BMX Maintenance?
For basic BMX maintenance, we need a solid maintenance checklist. Essential tools include various wrenches, a reliable pump, cleaning supplies, and a multi-tool. These keep our rides smooth and our bikes in prime condition together.
How Can I Prevent Future Crashes While Riding?
To prevent future crashes, we should focus on perfecting our riding technique and always wear appropriate safety gear. Practicing skills and being mindful of our surroundings can help keep us safe and confident on the bike.
When Should I Seek Professional Help for Repairs?
We should seek professional help when we notice persistent issues, like structural damage or brake failures. Trusting skilled mechanics at repair shops guarantees our safety and keeps our rides smooth and enjoyable. We’ve got to prioritize safety!
What Are Common Signs of Wear I Should Watch For?
We’ve gotta watch for tire punctures, wobbly wheels, and any strange noises. Regular brake adjustments are essential too, ensuring safety. Let’s keep our ride smooth and dependable, so we can enjoy every moment together!