As an Amazon Associate, we earn from qualifying purchases. Some links on this site are affiliate links at no extra cost to you. Our recommendations are based on thorough research and editorial judgment.

How To Assemble A BMX Bike From Scratch?
Assembling a BMX bike from scratch is super fun! First, we inspect our parts and organize them by section, like front and rear components. Next, we set up the frame and fork, followed by installing the wheels—flipping the bike upside down helps! We then tackle the crankset and sprocket, ensuring everything’s tightened and aligned. Finally, we attach the handlebars and stem, checking that the brakes work. Stick around, and we’ll dive deeper into each step!
Key Takeaways
- Inspect and organize all BMX bike parts, grouping them by sections to streamline assembly.
- Install the fork after cleaning the head tube and greasing the headset for smooth operation.
- Properly align and install both front and rear wheels, ensuring correct chain seating and inflation.
- Assemble the crankset and sprocket, applying grease and verifying compatibility for optimal performance.
- Attach handlebars and stem, ensuring proper alignment and securing all components before final checks.
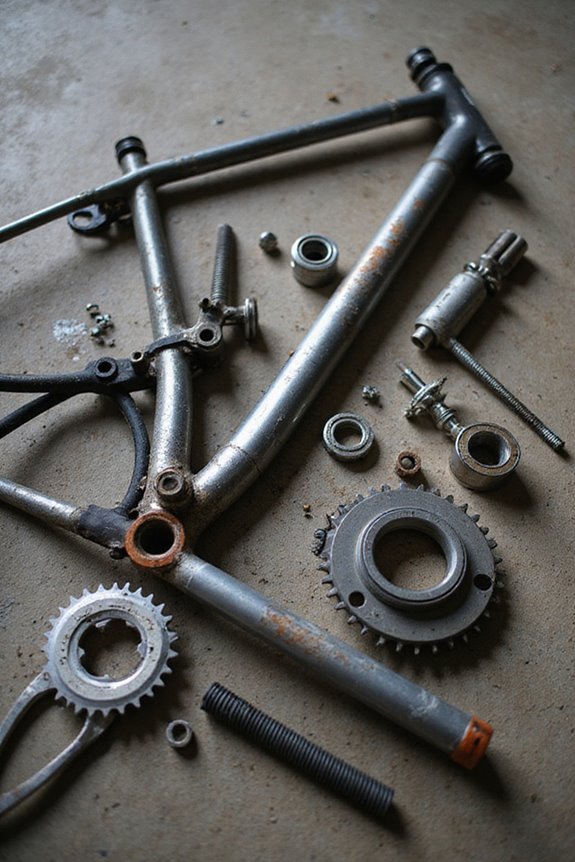
Preparing and Organizing BMX Bike Parts
You may be interested

Alright, let’s plunge into getting our BMX bike parts ready for assembly! We’re starting with a thorough parts inspection. Let’s check for any defects, especially on the rims, spokes, and tires. Remember, a small crack can lead to big problems!
Next up is tools preparation. We need hex keys in sizes 4, 5, 6, and 8 mm for various bolts, plus a 15mm wrench for the pedals. Let’s keep a chain breaker handy for sizing, and tire levers ready for our tires!
Grouping parts by section—like front, drivetrain, and rear—will help us stay organized. It’s smart to keep small items like spacers and bolts in separate containers, too. This way, we’ll have everything within reach and avoid any headaches later on! Additionally, ensuring that all components are made from corrosion-resistant materials will help prolong their lifespan and enhance overall performance.
Frame and Fork Setup
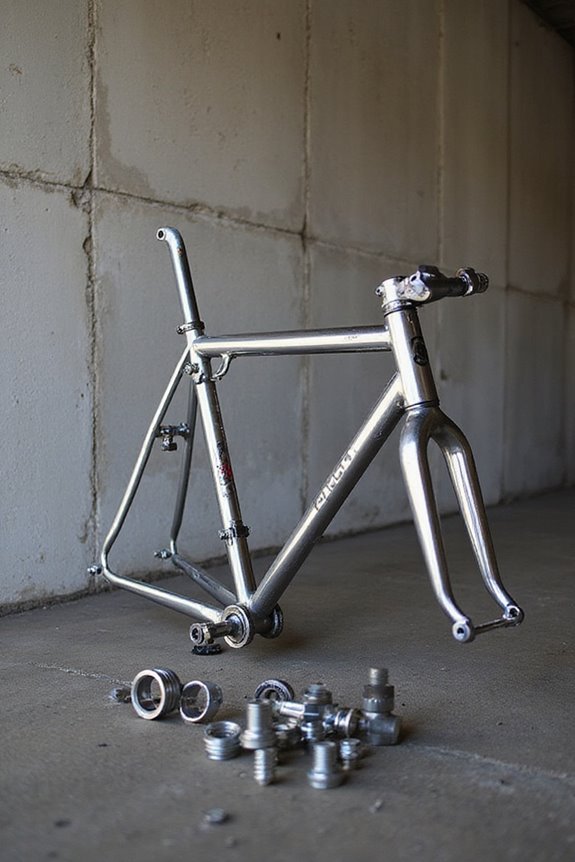
Now that we’ve got our parts prepped and organized, it’s time to jump into setting up the frame and fork! First, let’s pick the right fork for our bike—fork selection is key for performance!
We’ll start by removing the front wheel for easy access. Loosen the stem bolts with a 6 mm Allen key, then take off the compression bolt. Clean the head tube and apply fresh grease for smooth headset maintenance. Slide the fork’s steerer tube through the head tube, reinstall the spacers and top cap, and slide the stem back on. Remember to align the handlebars with the fork angle!
Lastly, let’s tighten everything evenly and check for smooth steering. It’s important to ensure the brake compatibility is suitable for your frame to enhance overall control and safety. We’re getting close to finishing our ride!
Recommended Products

🔹 BMX Fork: Box One X2 forks are engineered and crafted using our Oversized Technology. These BMX Bicycle Fork are the single most important component in the quest for bike control. We’ve moved carbon from areas of low stress to areas that handle high load.

Size: 700c / Threadless Steerer

20" BMX fork with legendary lifetime replacement warranty
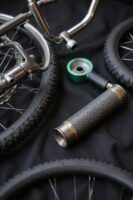
Wheel Installation and Alignment
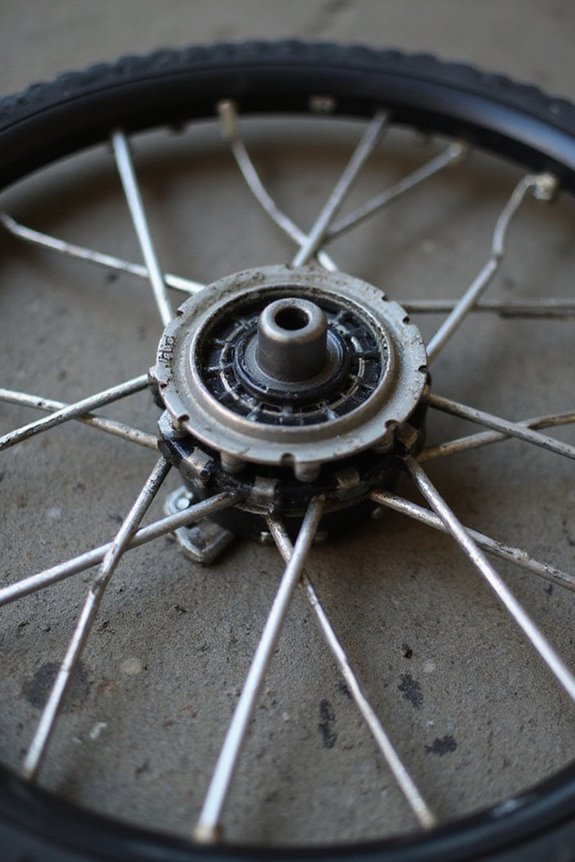
Getting our wheels on is super exciting! Let’s jump into the installation and alignment of our wheels. First, we’ll flip the bike upside down for easy access. Remember to remove any plastic spacers before inserting the front wheel axle into the fork dropouts. Once we’ve aligned it, securely tighten those axle nuts with a 15 mm wrench.
Next up, we’ll slide the rear wheel into the frame and make sure the chain is correctly seated. It’s important to check wheel alignment; we should center each wheel before fully tightening. Let’s keep an eye on tire pressure, too! We want to inflate them to the recommended PSI for safe riding. As a reminder, many BMX bikes come nearly fully assembled, which simplifies the assembly process. With everything secured, let’s feel that excitement build for our new ride!
Recommended Products

COMPLETE 37-PIECE BIKE TOOL KIT – Includes chain whip, cassette remover, bottom bracket tools, spoke wrench, cable cutters, hex and Torx keys, tire levers and more so you can handle tune-ups, upgrades and full overhauls at home.
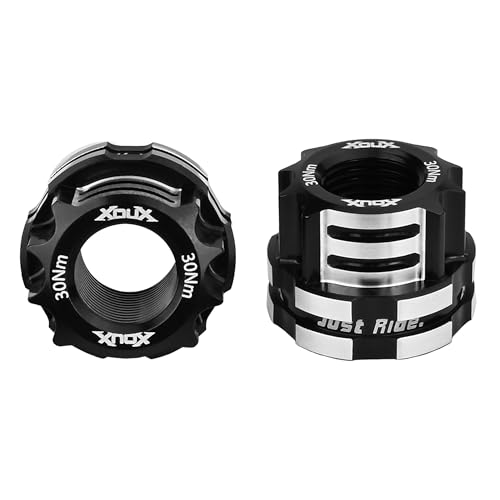
SPECIFICATIONS: Engineered specifically for 10 x 1mm axles. Perfect fits for BMX bikes & fixed gear bikes. Fully compatible with external chain tensioners, ensuring the rear axle position stays locked in and the chain remains tight during landings

Axle Size and Weight: Suitable for 15mm Forks and Rear Wheel Mounts. Item weight is 0.12 lbs.
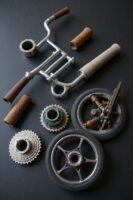
Crankset and Sprocket Assembly
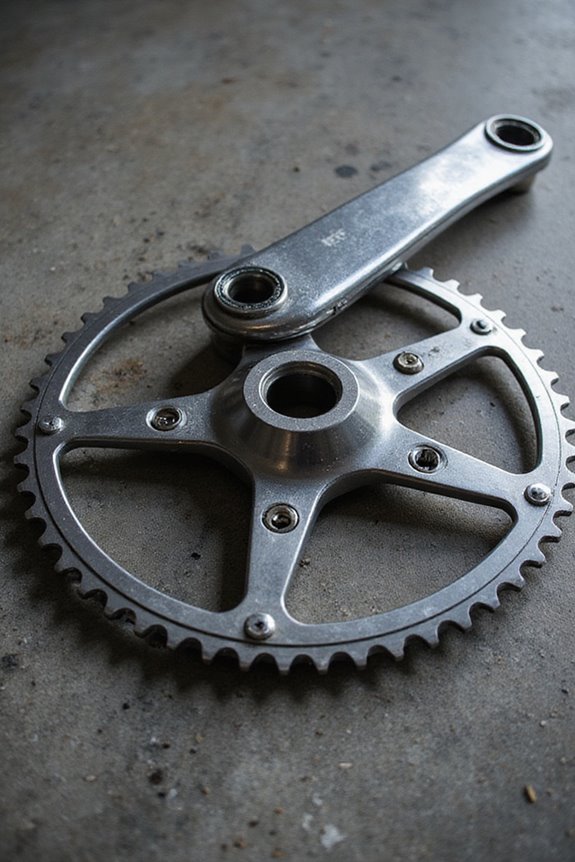
As we explore the crankset and sprocket assembly, it’s time to bring our bike’s power system to life! First, let’s grease the bottom bracket shell to keep those bearings running smoothly. Remember to use a rubber mallet with a piece of wood, so we don’t damage anything when we tap in the bearings. Also, check that our spindle size matches the bearings for the best crankset compatibility! Using high-quality BMX greases will also enhance performance and prolong the bike’s life.
Next, when we attach the sprocket, let’s align those cutouts and bolts. A quick note—if we’re unsure about sizing, adapters can help! Finally, don’t forget to tighten everything and check for smooth crankset movement. We’ve got this—let’s make our BMX ride-ready!
Recommended Products

Lightweight Carbon Construction Enhances Durability and Performance, Featuring Proprietary Lay-up for Extreme Stiffness and Weight Savings in Mountain Bike Cranksets.

SRAM X01 Eagle Crankset - 175mm, 12-Speed, 32t, Direct Mount, Dub Spindle Interface, Lunar/Polar, C2
Enhanced durability and precision with the SRAM X01 Eagle Crankset, featuring lightweight carbon-tuned construction designed for aggressive Trail and Enduro riding experiences.

High-performance SRAM GX Eagle 12-Speed Crankset with 32T Chainring offers unmatched durability and precision for mountain biking enthusiasts.
Handlebar and Stem Assembly
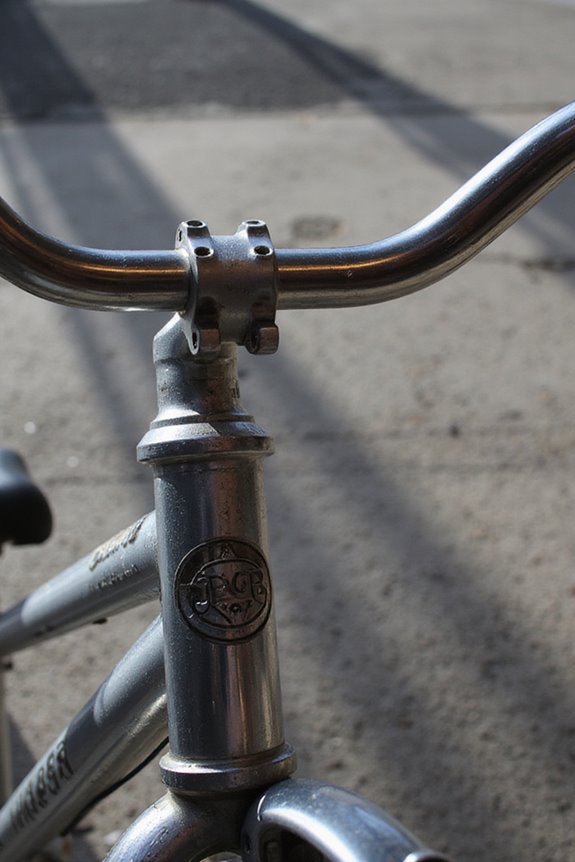
With the crankset and sprocket all set up, we’re ready to tackle the handlebars and stem! First, let’s slide the stem onto the steerer tube. It should sit flush with the headset, and remember to check for gaps—2-3mm is perfect! We’ll want to apply grease to the top cap bolt and hand-tighten it to avoid damage.
Next, it’s time for handlebar alignment. Place the handlebars in the stem clamp, centering them well. Loosely reinstall the faceplate bolts for adjustment, then set the desired angle. After even stem tightening, we can test the bars by tugging them gently. It’s all about secure assembly for a safe ride! Let’s double-check everything before we hit the road! Regular maintenance is key to ensuring long-term performance and safety, so don’t forget to check the brake systems before your first ride!
Recommended Products

Designed for beginner-level riders, the Mongoose Title Pro BMX race bike is a trophy-worthy bike at an amazingly affordable price. Suggested rider height is 5'3" - 5'8".

L20 is a stylish freestyle BMX bike that offers everything a beginning rider needs to hit the streets and pop off curbs, Suggested rider height is 4’8”-5’4”

Durable Lightweight Chromoly Frame & Fork – Constructed from high-strength chromoly steel for a lighter, more durable ride, built to handle the toughest tricks and street sessions.
Frequently Asked Questions
What Tools Do I Need for BMX Bike Assembly?
For BMX bike assembly, we’ll need adjustable wrenches, various Allen wrenches, screwdrivers, and a solid organization system to keep our tools handy. This way, we’ll enjoy a smoother, more efficient assembly experience together!
How Long Does It Typically Take to Assemble a BMX Bike?
Assembling a BMX bike can take us about 30 to 45 minutes, like piecing together a puzzle. Our assembly duration often hinges on skill level, so let’s embrace the challenge and enjoy the process together!
Can I Use Any Kind of Grease for Bike Parts?
We can’t just use any grease for bike parts; choosing the right grease types is essential for bike lubrication. Let’s stick to bike-specific greases for ideal performance and protection of our beloved rides.
What Should I Do if Parts Are Missing?
If we find any missing components, let’s reach out to the manufacturer for parts replacement. We should keep a record of what’s missing and work together to sort it out quickly and efficiently.
How Do I Maintain My BMX Bike After Assembly?
Maintaining our BMX feels like nurturing a trusted friend. Let’s keep an eye on tire pressure and regularly adjust the brakes, ensuring smooth rides and safe adventures. Together, we’ll soar through each journey with confidence.


